I've learned a few things over the years doing this Staging gig.
Moving can be stressful and it can be fun. People are usually nervous when the stager arrives but feel better by the end of our appointment. Kids love to help with the staging process especially when it's explained to them. Dogs really like me and cats blow me off.
But probably the coolest thing I've learned are the organization hacks, brain hacks, life hacks and styling hacks that help bring about a beautiful finished staging result in record time.
Most people would call what I'm about to share in this post, decluttering strategies, but I talk about why I don't like that terminology in this blog post. I prefer to think of these as organization, pre-packing and styling strategies. And because I love you and want you to be successful–and who doesn't love a good hack or two!–I'm going to share some with you my top tricks to stage any house perfectly! But first, let's give you an even deeper level of what you should have in place before you even start staging your house to sell.
My Top Tricks To Stage Any House Perfectly
A Plan
First up, is The Plan. Yes, I have capitalized The Plan because that beautiful thing it is worthy of those capital letters. One of the amazingly valuable tools our clients receive coming out of a Styling Evaluation (Staging Consultation) or E-Staging Consultation is a Selling Success Plan which is a room-by-room detailed plan for exactly what to do in that room. I cannot tell you how many people have told us that having the Selling Success Plan helped them to skyrocket their results when prepping their house to sell. This seems so obvious, but most people don't have that kind of organized approach when doing this work on their own.
The reason our Selling Success Plan works so effectively is that it's based on neuroscience.
Yep–you heard me! Staging really is brain science!
Our brains experience a phenomenon called Decision Fatigue when confronted with too many choices. Do I pack this? Do I pack that? Should I start by organizing my closet? (the answer is no!) Should I start by organizing my pantry? (the answer is also no!)
When a clear step-by-step plan for each room is created, there is no decision-making left. All that is left is for you (or your client if you're a Stager or Realtor) is to simply execute that plan.
A Priority Hierarchy
A what? I know, I couldn't think of anything else to call it. I tried but then I thought, I'll spend more time trying to think of a better name when I could just explain it. Haha! So here's what I mean by a Priority Hierarchy…
Ok, so in the paragraph above, I mentioned that you shouldn't start by organizing your closet or your pantry. A lot of people like to start in those places because they seem manageable and most of us have cleaned out a closet or a pantry a thousand times before so we feel more comfortable knowing where to start.
But, in order to fast-track getting your house on the real estate market, we've got to be thinking about what will get photographed for the online listing photos. Unless you've got a gorgeous closet with a chandelier and Jimmy Choo's on the shelf, the likelihood of your closet making it into the online listing photos is small. Start with the more important spaces and begin by packing up all of the extras in those rooms–cleaning comes after the pre-packing process.
In my e-book, Sell Your House In 72 Hours, I talk about what I call the SIR's–Super Important Rooms. You can grab a copy of the e-book here
There are other ways to prioritize what you tackle to get your house ready to share but having an understanding of the Super Important Rooms is your biggest first step! Ok, now onto the really good stuff–tricks of the trade!
6 More Stager Tricks to Help You Stage Any House Perfectly
Most people need to edit or pre-pack their spaces (you know I don't ever use the word clutter and you shouldn't either!) so I'm going to share some amazing ideas for doing this quickly!
use your Camera
I know I say this all the time but it. is. true! Get your camera out, take a photo of your room from all angles, take a really close look at it and see what seems like a distraction. Pack that stuff! For my Stagers in the room, it can be super helpful to share with your clients how a room is appearing through the lens.
Have A Landing Zone
Ok maybe a step before you begin the pre-packing process, decide where you are going to stash things, tuck them away or put the boxes you fill with the items you won't need for staging. Most people today understand the staging process so don't shy away from putting things in your garage, your unfinished basement space, or in one end of a finished basement space, in closets, etc. Remember we are serving the photos first and those spaces aren't likely to be photographed. Just do your best to store things as neatly as possible.
Create A Plan For Donation Or Selling Items
If you want to be as green as possible, you can identify the locations in your community that take donations of clothing, housewares, and furniture before you start your staging activities. This way, you can be efficiently sorting items into donation piles as you go. Furniture can be the trickiest so I'd start with trying to find a new home for any furniture you won't need for your staging process or your next home.
flip the script (or the book)
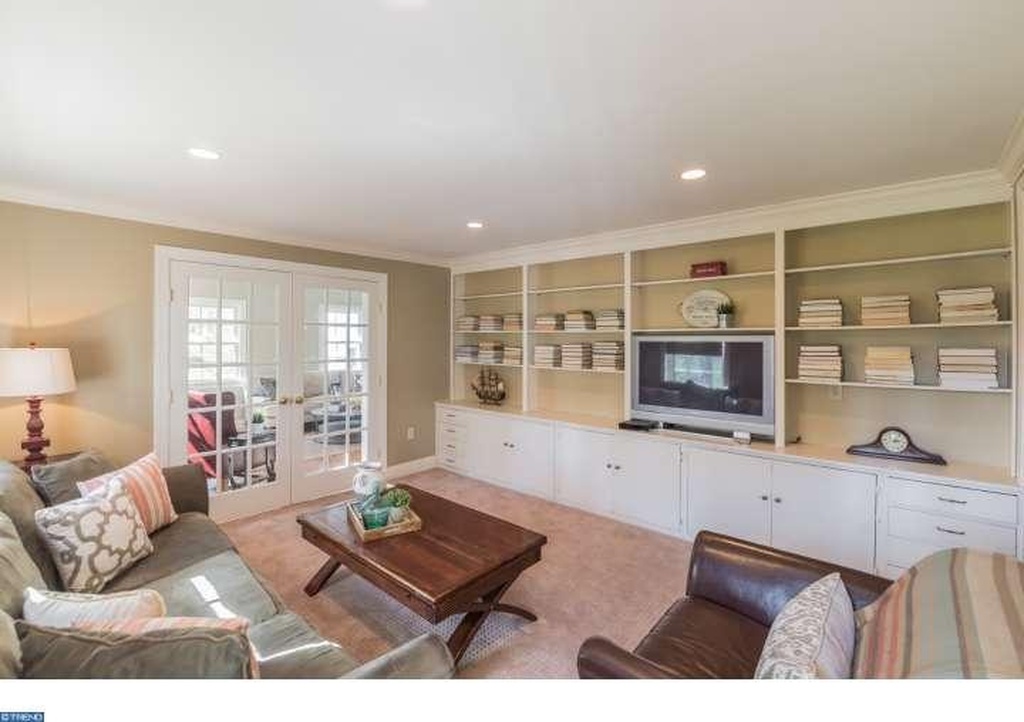
I love that books are still a thing for most people. But, styling a bookshelf with a lot of books can cause even the pros among us a bit of stress. If you can't pack up all of your books, here's a great hack we've come up with to organize and style a bookcase super fast. Flip the books with the pages out and create simple vertical stacks. So simple, so easy and so quick to do.
Throw Some Shade
When you're living in a busy household with kids, we find it can be unrealistic to have our clients clean out toy bins, shoe bins, basically all the kid-thing bins. So, we developed this super cool trick that our client used here. See all of the toys showing through the bins in the media cabinet?
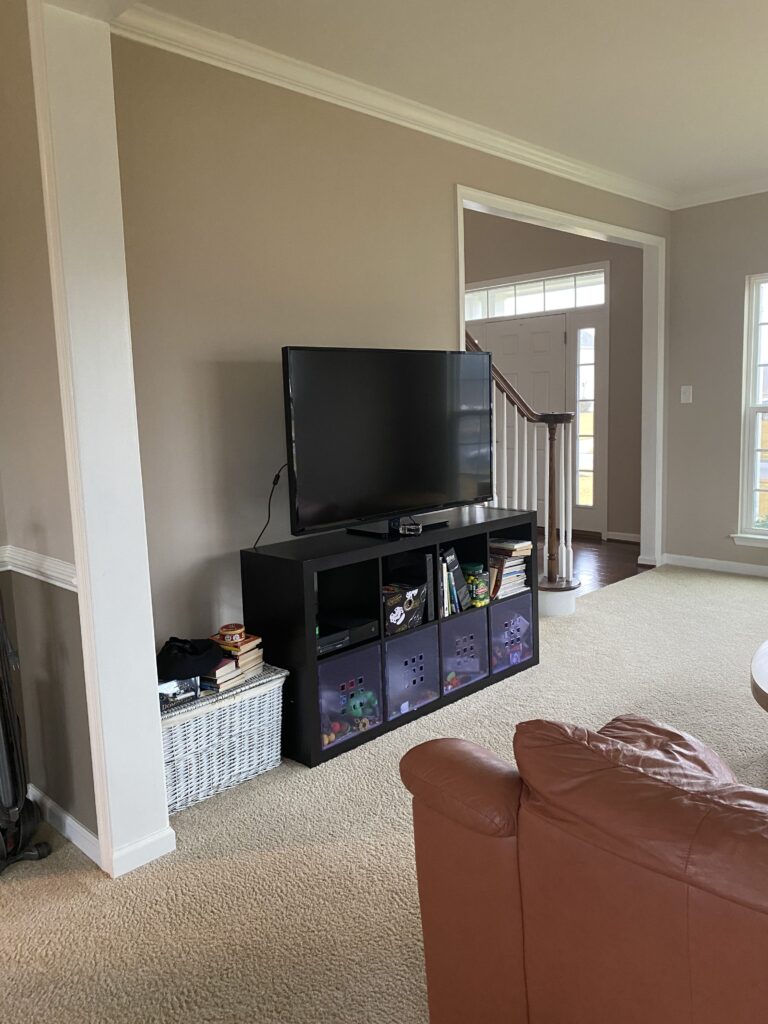
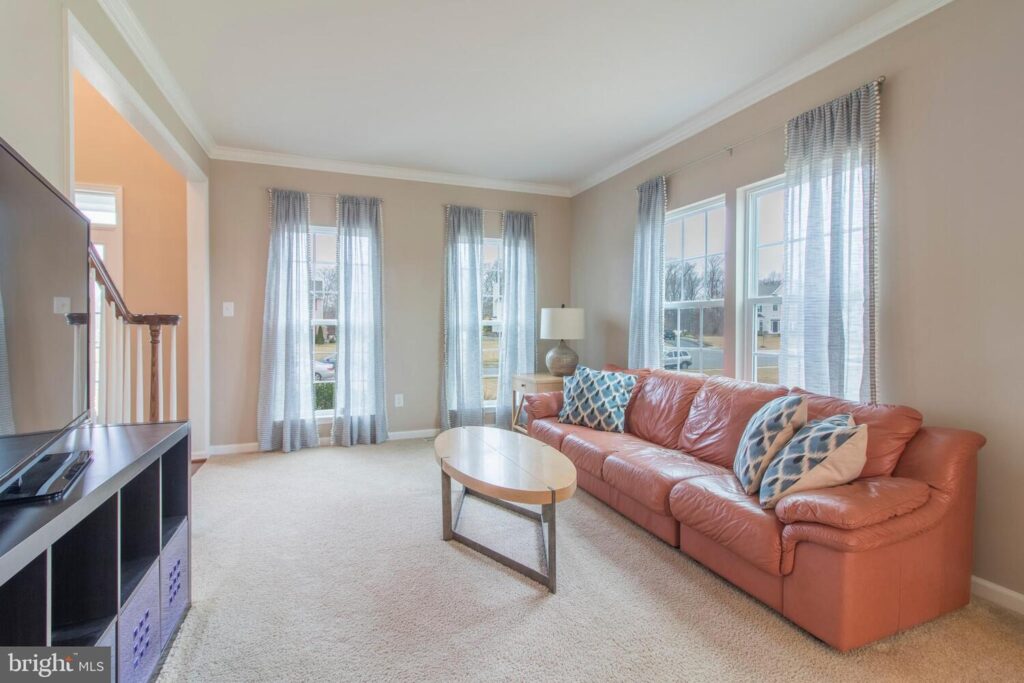
We recommended they take a dark towel, dark piece of clothing or dark trash bag and place it over and in front of the toys. Check out the result! It's magical and can be used in allll the bins!
put a lid on it
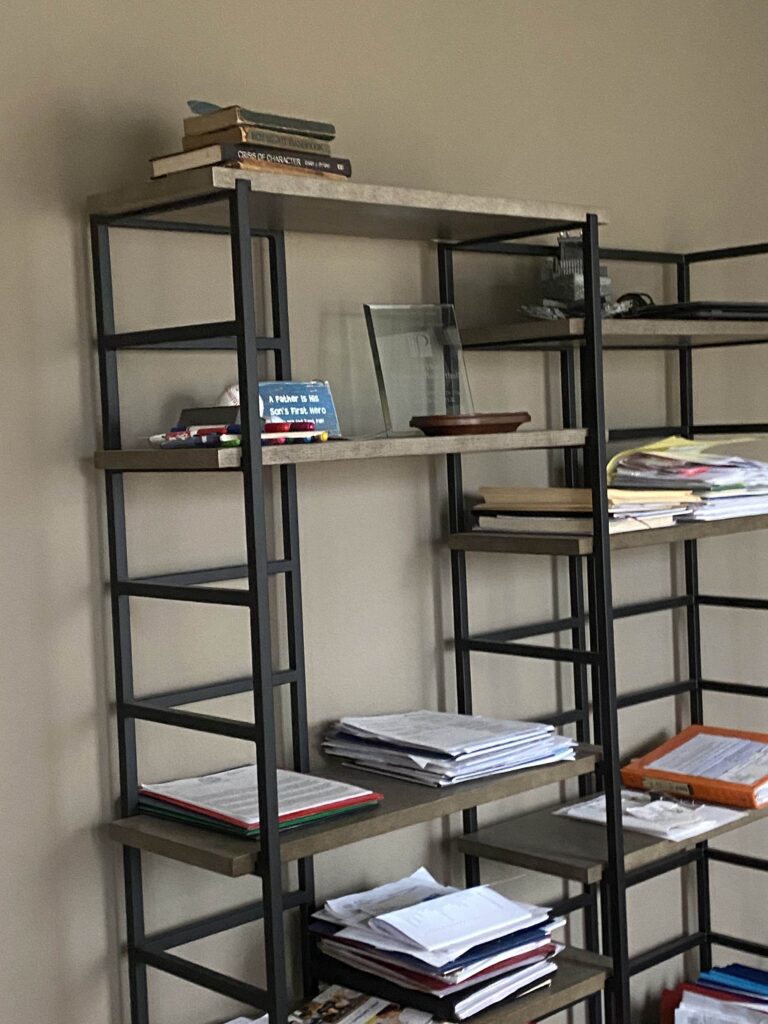
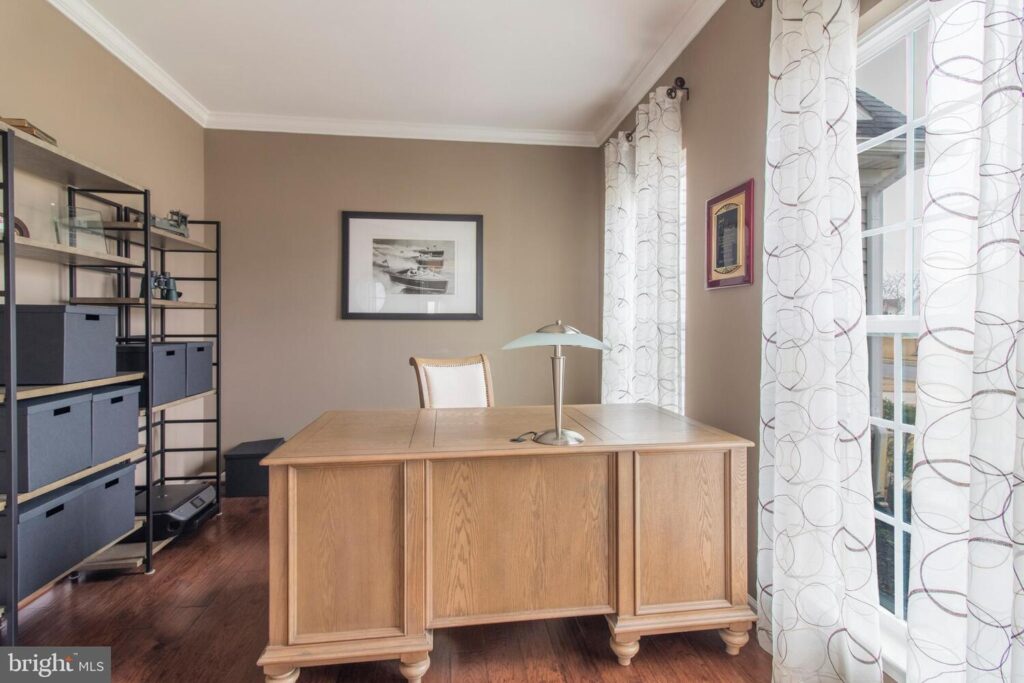
Lidded baskets are my absolute favorite way to quickly and neatly store away all kinds of small items that can busy up a space. Here's a fabulous transformation we guided our clients to make in order to keep their paperwork in their office but have it look camera-worthy.
Have fun with these and don't forget to grab your copy of Sell Your House In 72 Hours, where I share more tips and tricks to stage any house perfectly! Grab a copy of the e-book here.
xo,
Lori

Leave a Reply